I recently opted to move this blog, "Ultralight Backpacking" off the Google Blogger servers and onto the personal server space I host at samh.net. The reason behind this is two-fold. One, over the years I've grown to prefer the Wordpress blogging software to Google's Blogger software for it's open-source nature, expandability, and nearly endless configuration options. Secondly I prefer my personal web content be located within a server space that I own and control as opposed to Google's Blogspot. No, I'm not worried about all that SkyNet brouhaha but do prefer to have near-total personal control over my data.
Those of you who subscribe to this blog via my RSS feed will automatically continue to receive updates in your RSS reader of choice assuming you are subscribed to my Feedburner feed. It may behoove you to unsubscribe from my blog in your RSS reader and re-subscribe to be certain. The feed address is http://feeds.feedburner.com/ultralightbackpacking.
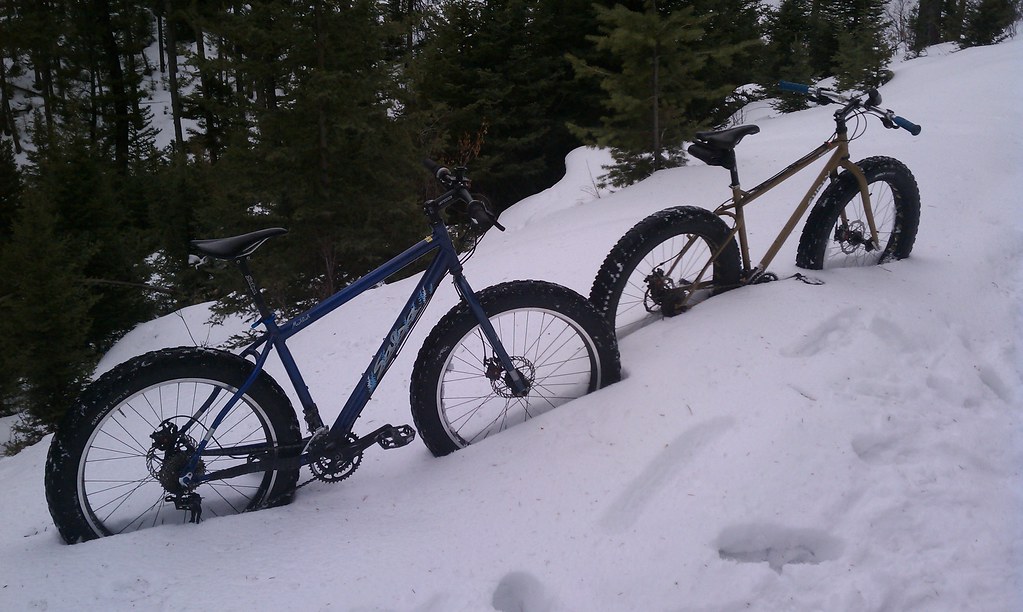
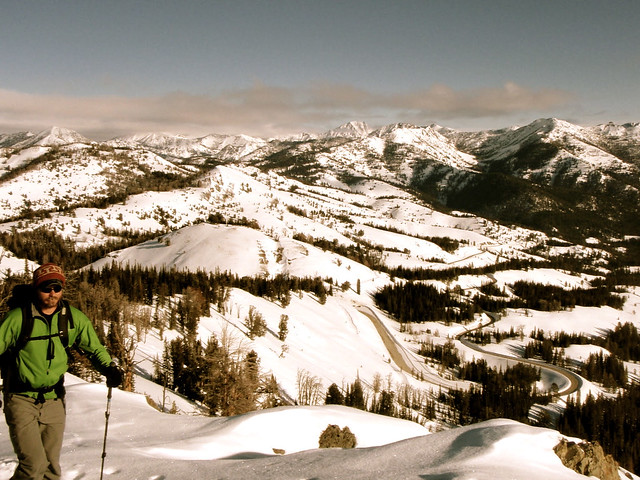
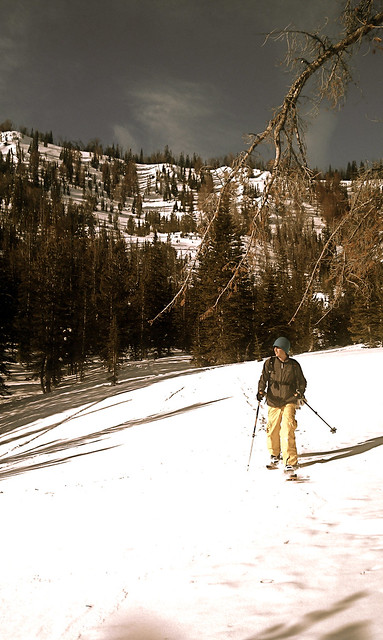
As part of this move I've decided to re-name my blog from it's general "Ultralight Backpacking" title to the more apt "Going Places Lightly". Backpacking is one of my main passions but I am also passionate about other types of quiet recreation such as bicycling and splitboarding. Those who read my blog know that I write about these other sports as much (and sometimes more) than backpacking - depending on the season. Changing the name will inform new readers that by following my blog they will be reading about more than just backpacking, although the tenets espoused therein will more than likely always remain rooted in the simplicity that is the heart of going ultralight.
I sincerely hope my current readership will remain with me in this move. To continue following and subscribing point your web browser to "Going Places Quietly".
Blog URL (for casual readers):
http://samh.net/backpacking/blog/
Feed URL (for RSS subscribers):
http://feeds.feedburner.com/ultralightbackpacking
Sincerely,
Sam Haraldson